You’ve just whipped up another stellar meal, and the table is set to perfection—except you notice your kid still struggling to grip their fork. No worries, you’re not alone, and this isn’t an unsolvable riddle. Above all, learning proper table etiquette is more than just a chore; it’s a milestone. We get it, and we’re here to help. This post provides a ten-step breakdown, straight from our Goal Mine channel, which covers this exact skill. And hey, let your kids watch our accompanying video for a more hands-on experience!
Table of Contents
| Step | Task | Description |
|---|---|---|
| Step 1 | Sit Properly at the Table | Sit with a straight back and both feet flat on the floor. |
| Step 2 | Identify the Fork | Point out the fork among other utensils on the table. |
| Step 3 | Pick Up the Fork | Use your dominant hand to pick up the fork. |
| Step 4 | Grip the Handle | Grip the handle like you would grip a pencil. |
| Step 5 | Rest of Fingers | Let the remaining fingers rest lightly against the handle. |
| Step 6 | Position the Fork | Position the fork so that the tines are facing downwards. |
| Step 7 | Wrist Position | Keep your wrist straight and avoid bending it excessively. |
| Step 8 | Practice Stabbing Food | Practicing by stabbing a piece of food on your plate. |
| Step 9 | Bring Food to Mouth | Lift the fork, bringing the food to your mouth. |
| Step 10 | Chew and Swallow | Put the fork back down on the plate while you chew and swallow. |
Step 1: Sit Properly at the Table
Firstly, the foundation of any good eating habit starts with posture. Yes, you heard that right. Have your kid sit with a straight back and both feet flat on the floor. It sets the stage for the actual fork-holding action that follows. No slouching, no cross-legged sitting; just good, old-fashioned posture.
Step 2: Identify the Fork
Now that we’ve nailed the sitting part, it’s time to focus on the star of the show: the fork. But hold on a minute. Before we get into the gripping techniques, your kid needs to know which utensil is the fork. Point it out, ideally placed on the left side of the plate.
Step 3: Pick Up the Fork
Okay, it’s time to make a move. Instruct your kid to use their dominant hand to grasp the fork. If they’re unsure which hand that is, offer them both options and see which feels more natural. It’s all about comfort and control.

Read more: How to Use a Spoon | Parent Guide
Step 4: Grip the Handle
To clarify, it’s all in the grip. Imagine holding a pencil—that’s how you want your kid to grip the fork. The thumb, index, and middle finger do most of the heavy lifting. In contrast, the remaining ring and pinky fingers rest casually on the handle.
Step 5: Rest of Fingers
Speaking of the remaining fingers, they’re not just along for the ride. Have your kid lightly rest their ring and pinky fingers against the handle for stability. They act like the backup singers to a lead vocalist, not the main focus but essential for a complete performance.
Goally | Routines that Actually Work
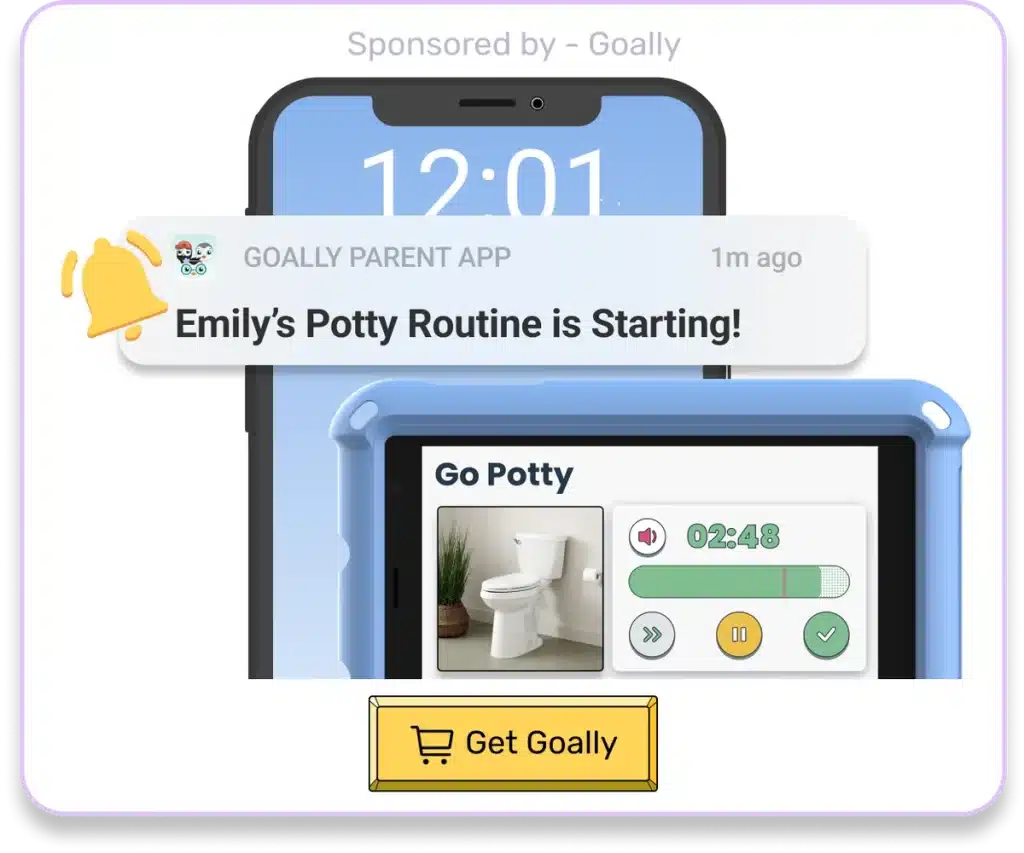
Goally’s skill building tablet for kids has routines that break down large tasks into small, achievable steps. It helps kids complete their tasks independently!

Create custom routines with your own videos & pictures for every step. The steps come in small, bite-sized pieces to help your child learn the little fundamentals (like putting the toothpaste on their toothbrush!) to achieve bigger goals. And that’s just the beginning. See it in action:
Step 6: Position the Fork
However, gripping is just the first part of the equation. The position of the fork matters, too. Make sure the tines are facing downwards toward the plate. This angle makes it easier to stab and lift food, which, let’s be honest, is the whole point of the exercise.
Step 7: Wrist Position
Meanwhile, pay attention to the wrist. It should be straight, not bent at an odd angle that resembles a pretzel. A straight wrist allows for more control and less mess. The cleaner the process, the more enjoyable the meal.
Step 8: Practice Stabbing Food
For instance, let’s consider the humble potato. Have your kid practice stabbing it with the fork. It’s fun, rewarding, and lets them feel like they’re part of the adult world. Ensure the fork penetrates the food item securely, avoiding embarrassing slips and spills.

Read more: 10 Tips to Help Your Picky Eater Toddler to Try New Foods
Step 9: Bring Food to Mouth
Subsequently, once the food is securely perched on the fork, guide it to the mouth. Simple, yet effective. Lift the fork and let the mouth do the rest. Just ensure your kid doesn’t turn this into a game of “airplane incoming.” The food should travel in a straight line, from plate to palate.
Step 10: Chew and Swallow
After that comes the most satisfying part—eating. Once the food is in the mouth, remind your kid to put the fork back on the plate. Chewing and swallowing come naturally, but let’s not multi-task with a fork in hand. Safety first!
Goally | 100+ Streaming Video Classes
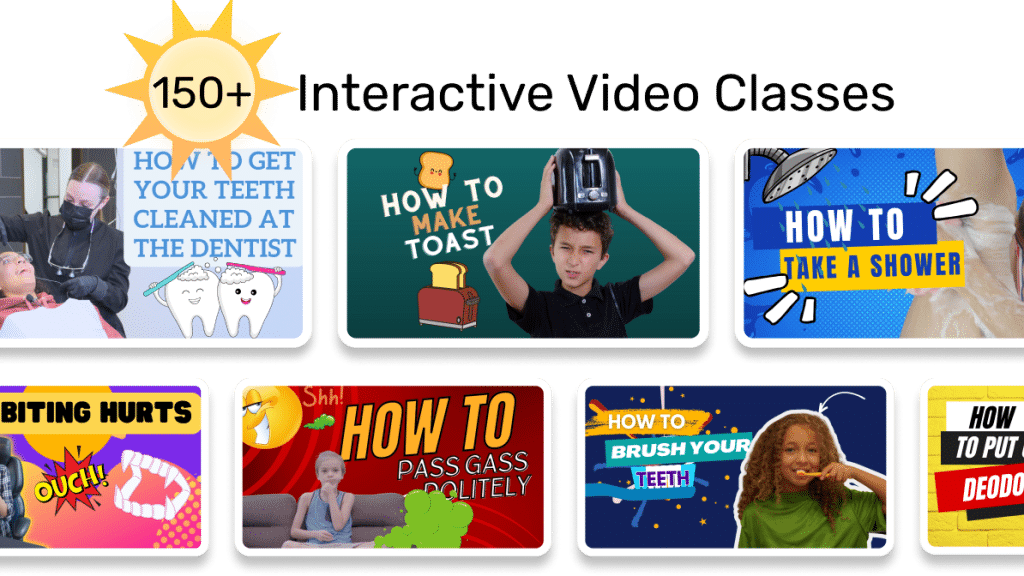
Does your child need some extra guidance on building essential life skills? Goally’s skill building tablet for kids includes a TV app that has the most robust video library of skills training videos for kids. Ranging from content like “How to Brush Your Teeth” to “How to Make Friends at School,” we have dozens of interactive video lessons for kids with thinking and learning differences.

HERE’s a video explaining how to works.
So there you have it: a simple yet practical guide to mastering the art of holding a fork. Each step lays a foundation for the next, making the process a breeze for your kid and you. And if you’re keen on mastering the rest of the steps in dynamic video format, snag a Goally’s dedicated Tablet to unlock the complete video lessons on this skill. The embedded YouTube video here covers only the first step. Still, a ton of knowledge is waiting for you and your kid! Most importantly, it’s not just about the fork; it’s about growing up, one tiny victory at a time. So celebrate this small but significant win in your child’s journey to independence. Cheers!

Goally
We help parents teach their kids life skills, like doing bedtime and morning independently. Backed by science, we incorporate evidence-based practices and expert-informed designs in all of our apps and content.


