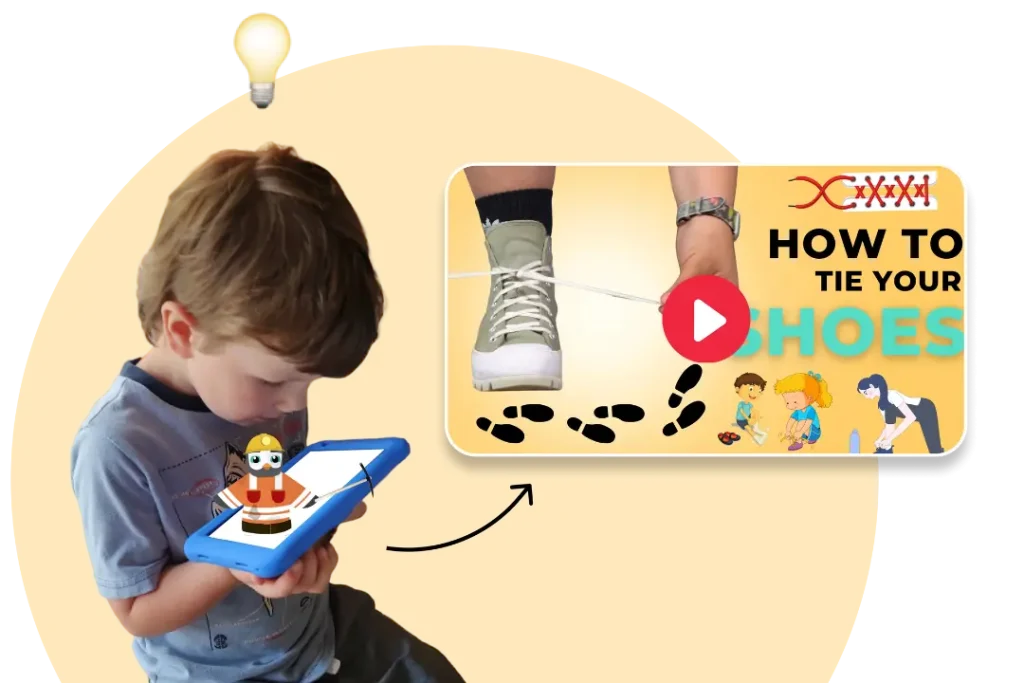
Every parent has been there: a brisk winter morning, and you’re trying to get out the door. Your kiddo struggles, staring down a pair of gloves, and there’s an underlying frustration building. You want them to brave the cold confidently and, most importantly, want them to gain the skill of putting those gloves on independently. We get it, and that’s why we’ve broken down the process for you. And for those visual learners? We’ve got an insightful Goal Mine class in video form on this blog.
Table of Contents
Step 1: Choosing the Right Gloves
- Comfort and Size Matters: But, here’s the deal. Before your kid can triumphantly “put gloves on,” we must ensure they’ve got the right pair. Not too big or small – just right. For instance, if they are too large, they can be hard to put on properly, making the task daunting. On the other hand, tight gloves? A nightmare to navigate. So, invest in gloves that fit snugly. Certainly, try-ons are essential.
- Material Considerations: Moreover, material plays a crucial role. Some gloves offer better flexibility than others. For instance, leather might look stylish but can be rigid for tiny hands. Meanwhile, knitted or fleece gloves provide more stretch and maneuverability, aiding the learning process.
Read more: Hand Washing Steps for Kids
| Step Number | Step Name | Details |
|---|---|---|
| 1 | Choosing the Right Gloves | Ensure gloves are of the right size and material for your child’s hands. |
| 2 | Matching the Gloves | Identify features to differentiate left from right; use color coding if necessary. |
| 3 | Putting The Gloves on | Start with the fingers, followed by the thumb, and adjust for comfort. |
Step 2: Matching the Gloves
- Identify Left from Right: First, lay the gloves on a flat surface. Point out distinct features, a tag or design, that help identify which is for which hand. After that, practice with your child. Ask them to pick up the right glove for the right hand and vice versa.
- Color Coding for the Win: For example, consider using colored wristbands or markers to differentiate between the left and right gloves. Above all, this visual cue aids in the matching process, making it faster and more intuitive for kids.
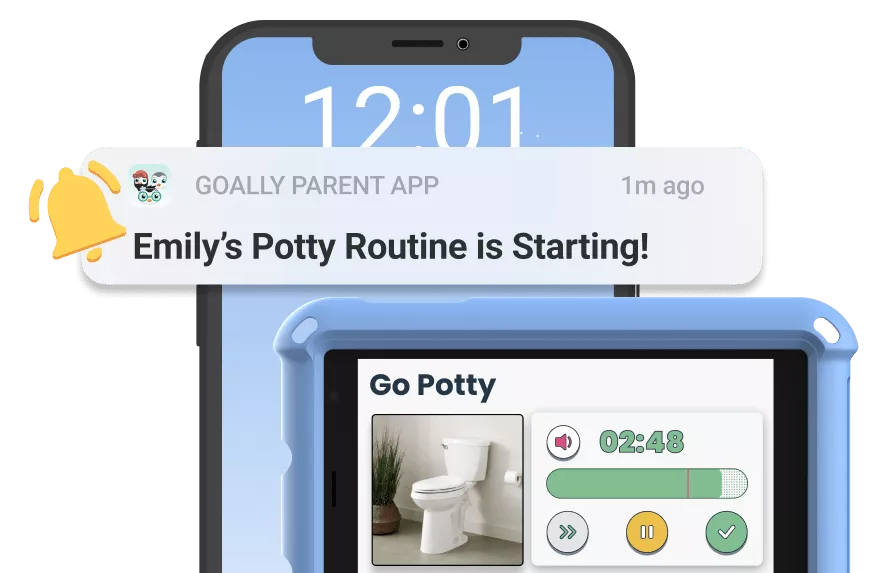
Recommended Kid’s Tablet for Life Skills:
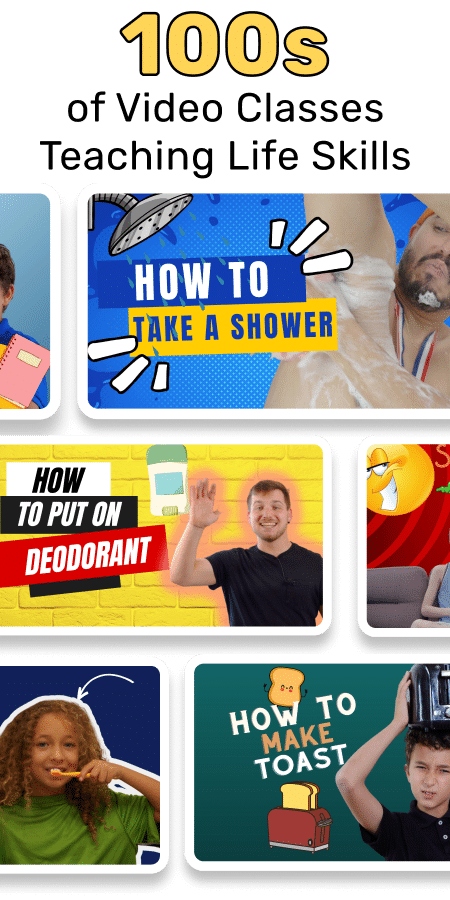
Pro tip— Goally’s Kid’s Tablet has one of the largest libraries of skill-building videos (like “How to Put on Gloves” and “What to do when you’re lost”) on Goally’s TV App.👇
Step 3: Putting The Gloves on
- Fingers First, Always: Here’s the drill: start with the little fingers. Ask your kid to slide each finger into its respective slot. To clarify, ensure they aren’t folding their fingers. Subsequently, the thumb should find its home. Similarly, if they find it tricky, turning the gloves inside out to show the finger paths can be a helpful trick.
- Secure and Adjust: After that, it’s all about adjusting. Let your child pinch and pull gently, ensuring each finger sits snugly. Likewise, if there are straps or Velcro, it is time to secure them.
Read more: Best Weather App
Every milestone, no matter how small, is a significant achievement in a child’s journey. Teaching them to how to put on gloves independently gives them a sense of accomplishment and simplifies those chilly morning departures. Above all, for those looking to unlock the complete visual journey, consider getting Goally’s dedicated Tablet. Dive deeper into our collection and explore the rest of the video lessons that masterfully teach kids the simple art of putting on gloves and much more!
Goally
We help parents teach their kids life skills, like doing bedtime and morning independently. Backed by science, we incorporate evidence-based practices and expert-informed designs in all of our apps and content.
- Goally
- Goally
- Goally
- Goally
- Goally
- Goally
- Goally
- Goally
- Goally
- Goally
- Goally
- Goally
- Goally
- Goally
- Goally
- Goally
- Goally
- Goally
- Goally
- Goally
- Goally
- Goally
- Goally
- Goally
- Goally
- Goally
- Goally
- Goally
- Goally
- Goally
- Goally
- Goally
- Goally
- Goally
- Goally
- Goally
- Goally
- Goally
- Goally
- Goally
- Goally
- Goally
- Goally
- Goally
- Goally
- Goally
- Goally
- Goally
- Goally
- Goally
- Goally
- Goally
- Goally
- Goally
- Goally
- Goally
- Goally
- Goally
- Goally
- Goally
- Goally
- Goally
- Goally
- Goally
- Goally
- Goally
- Goally
- Goally
- Goally
- Goally
- Goally
- Goally
- Goally
- Goally
- Goally
- Goally
- Goally
- Goally
- Goally
- Goally
- Goally
- Goally
- Goally
- Goally
- Goally
- Goally
- Goally
- Goally
- Goally
- Goally
- Goally
- Goally
- Goally
- Goally
- Goally
- Goally
- Goally
- Goally
- Goally
- Goally
- Goally
- Goally
- Goally
- Goally
- Goally
- Goally
- Goally
- Goally
- Goally
- Goally
- Goally
- Goally
- Goally
- Goally
- Goally
- Goally
- Goally
- Goally
- Goally
- Goally
- Goally
- Goally
- Goally
- Goally
- Goally
- Goally
- Goally
- Goally
- Goally
- Goally
- Goally
- Goally
- Goally
- Goally
- Goally
- Goally
- Goally
- Goally
- Goally
- Goally
- Goally
- Goally